# Overview
Private line management maintains private line information, defines the private line services that can be run on the private line, generates pairing codes, and limits the number of pairings.
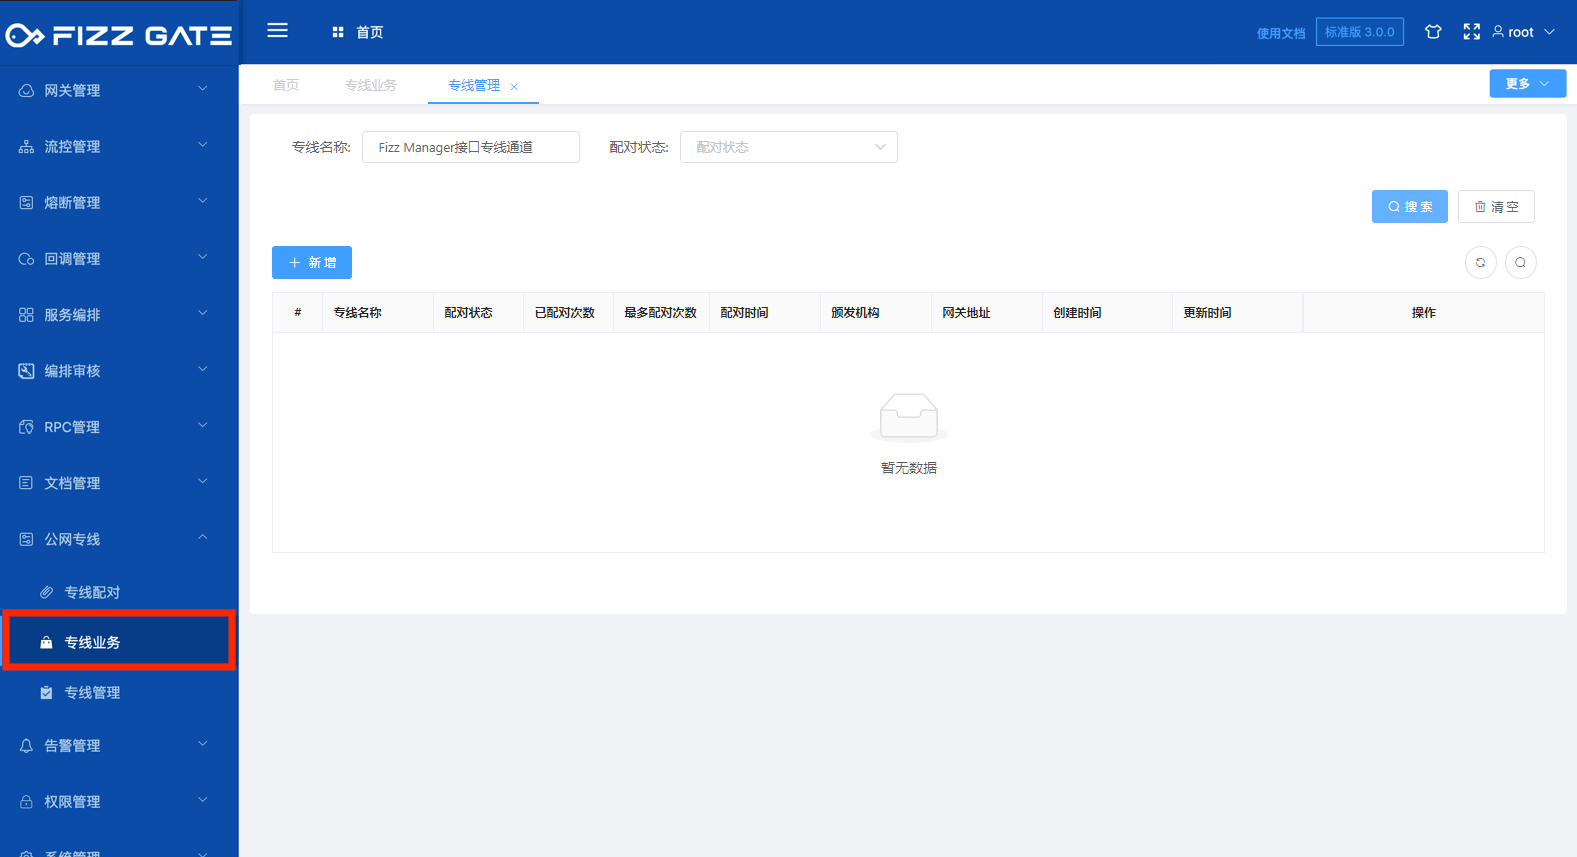
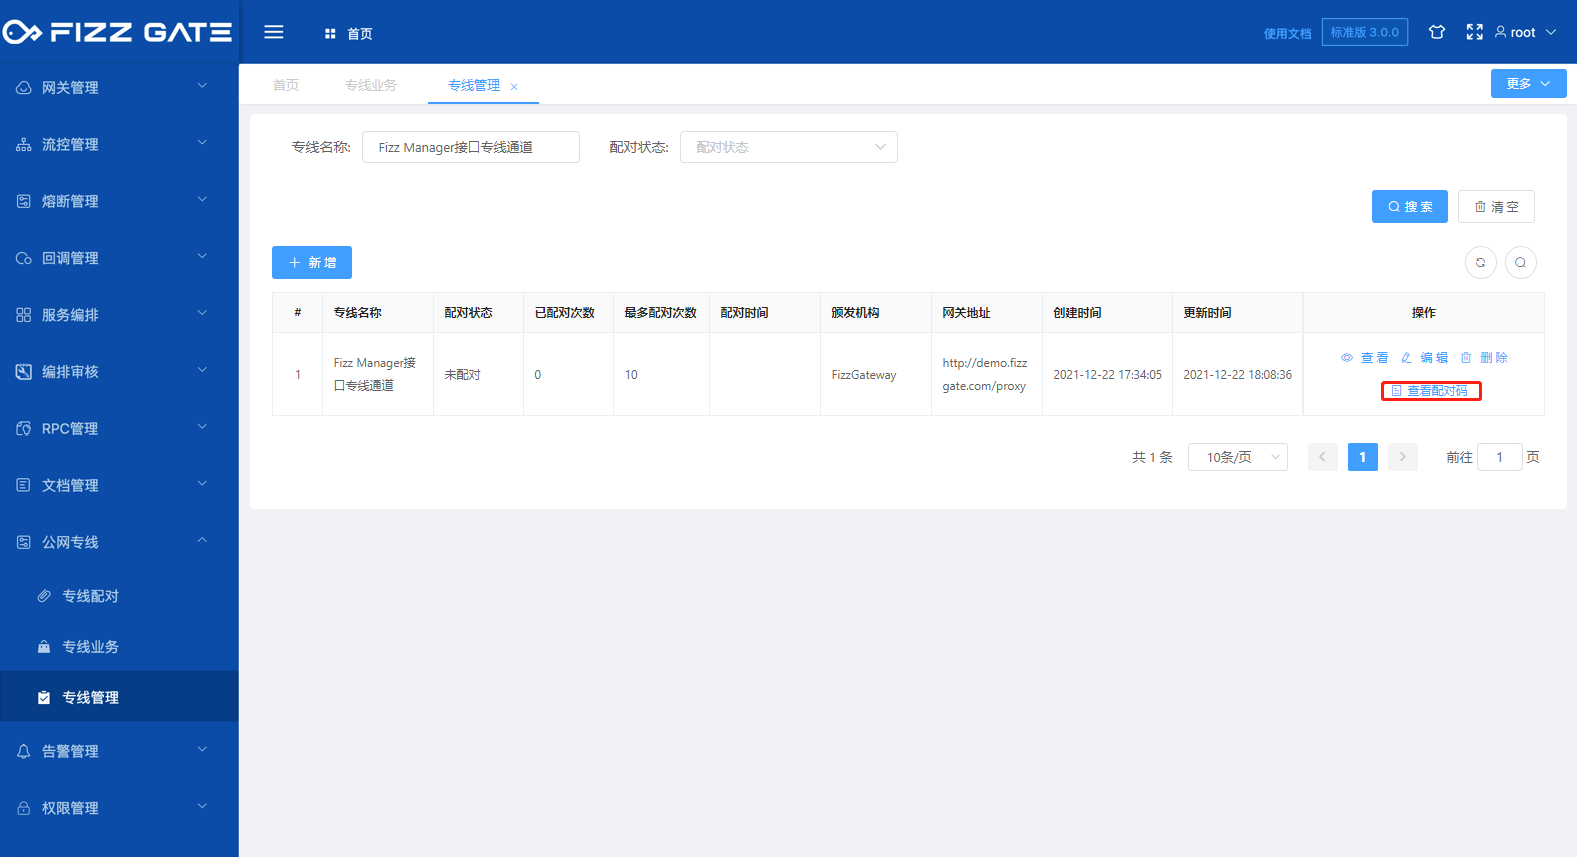
# Dedicated line list
Menu location: Public Network Dedicated Line > Dedicated Line Management. Click the menu to enter the dedicated line list page, as shown in the figure.
# Add dedicated line
Click the Add button to pop up the new window, as shown in the figure.

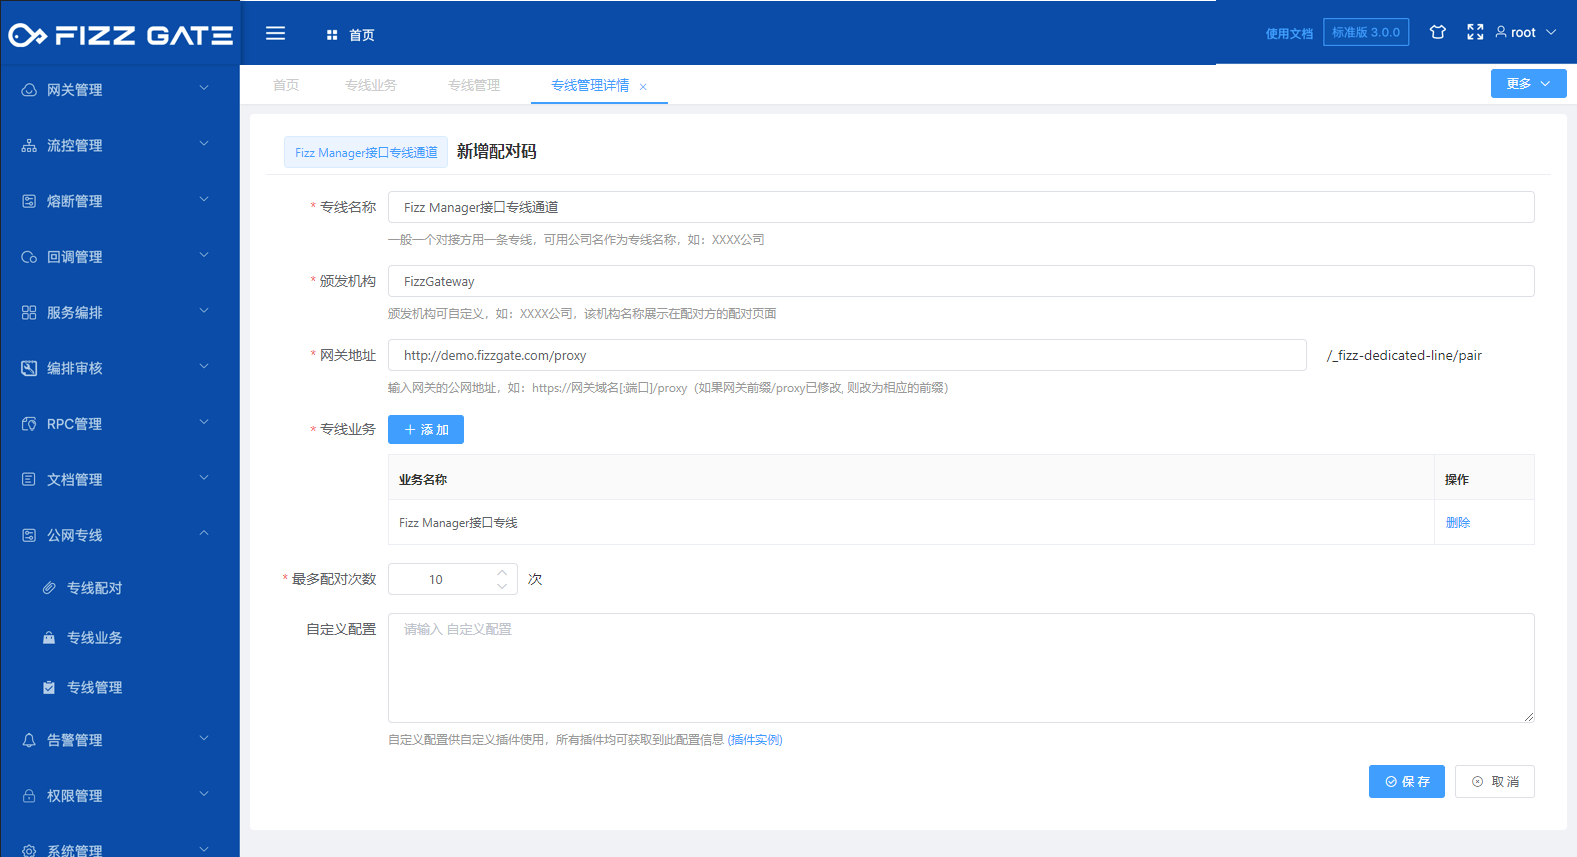
Dedicated line name: The name of the dedicated line, the length cannot exceed 200 characters, required;
Issuing authority: the issuing authority, displayed and used in the dedicated line matching function, the length cannot exceed 200 characters, required;

Gateway address: The public network address of the gateway, such as: https://gateway domain name[:port]/proxy (if the gateway prefix/proxy has been modified, change it to the corresponding prefix), the length cannot exceed 500 characters, and is required;
Private line business: Private line business that can be run on the private line (the private line business is maintained through the private line business function, for more details about the private line business, please see the private line business function introduction), multiple selections are allowed, but one is required;
Maximum number of pairings: the number of times the pairing code can be matched, must be greater than 1, required;
Custom configuration: Custom configuration is used by custom plug-ins. This configuration information can be obtained by all plug-ins (for more plug-in details, please see the plug-in management function introduction). It is optional.
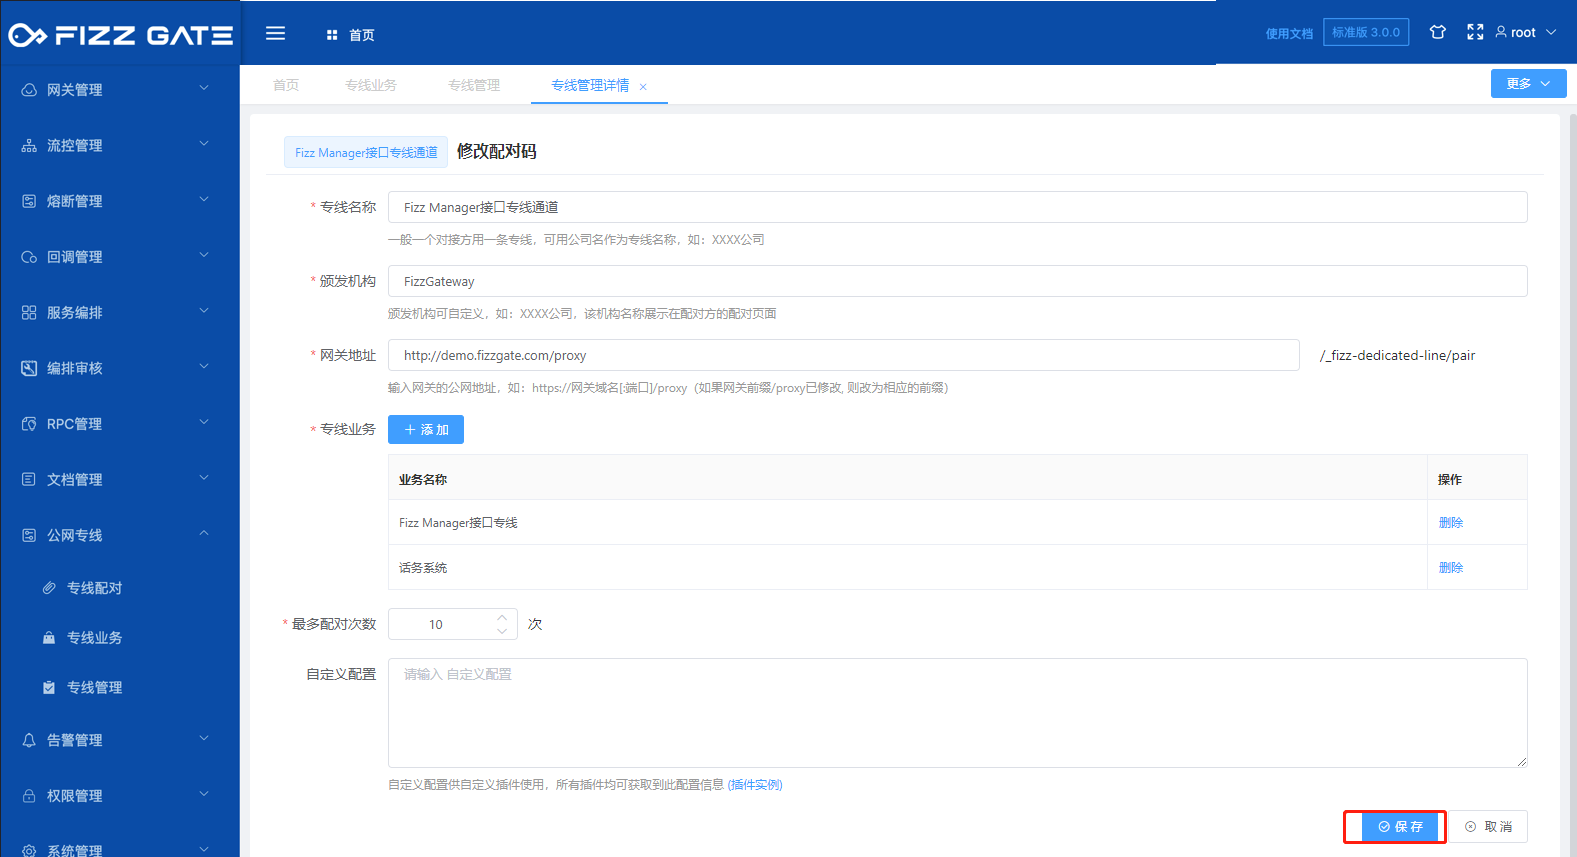
# Editor hotline
Click the Edit button to pop up the editing window, as shown in the figure.

# Delete dedicated line
Click the Delete button to pop up the deletion confirmation window, as shown in the figure.

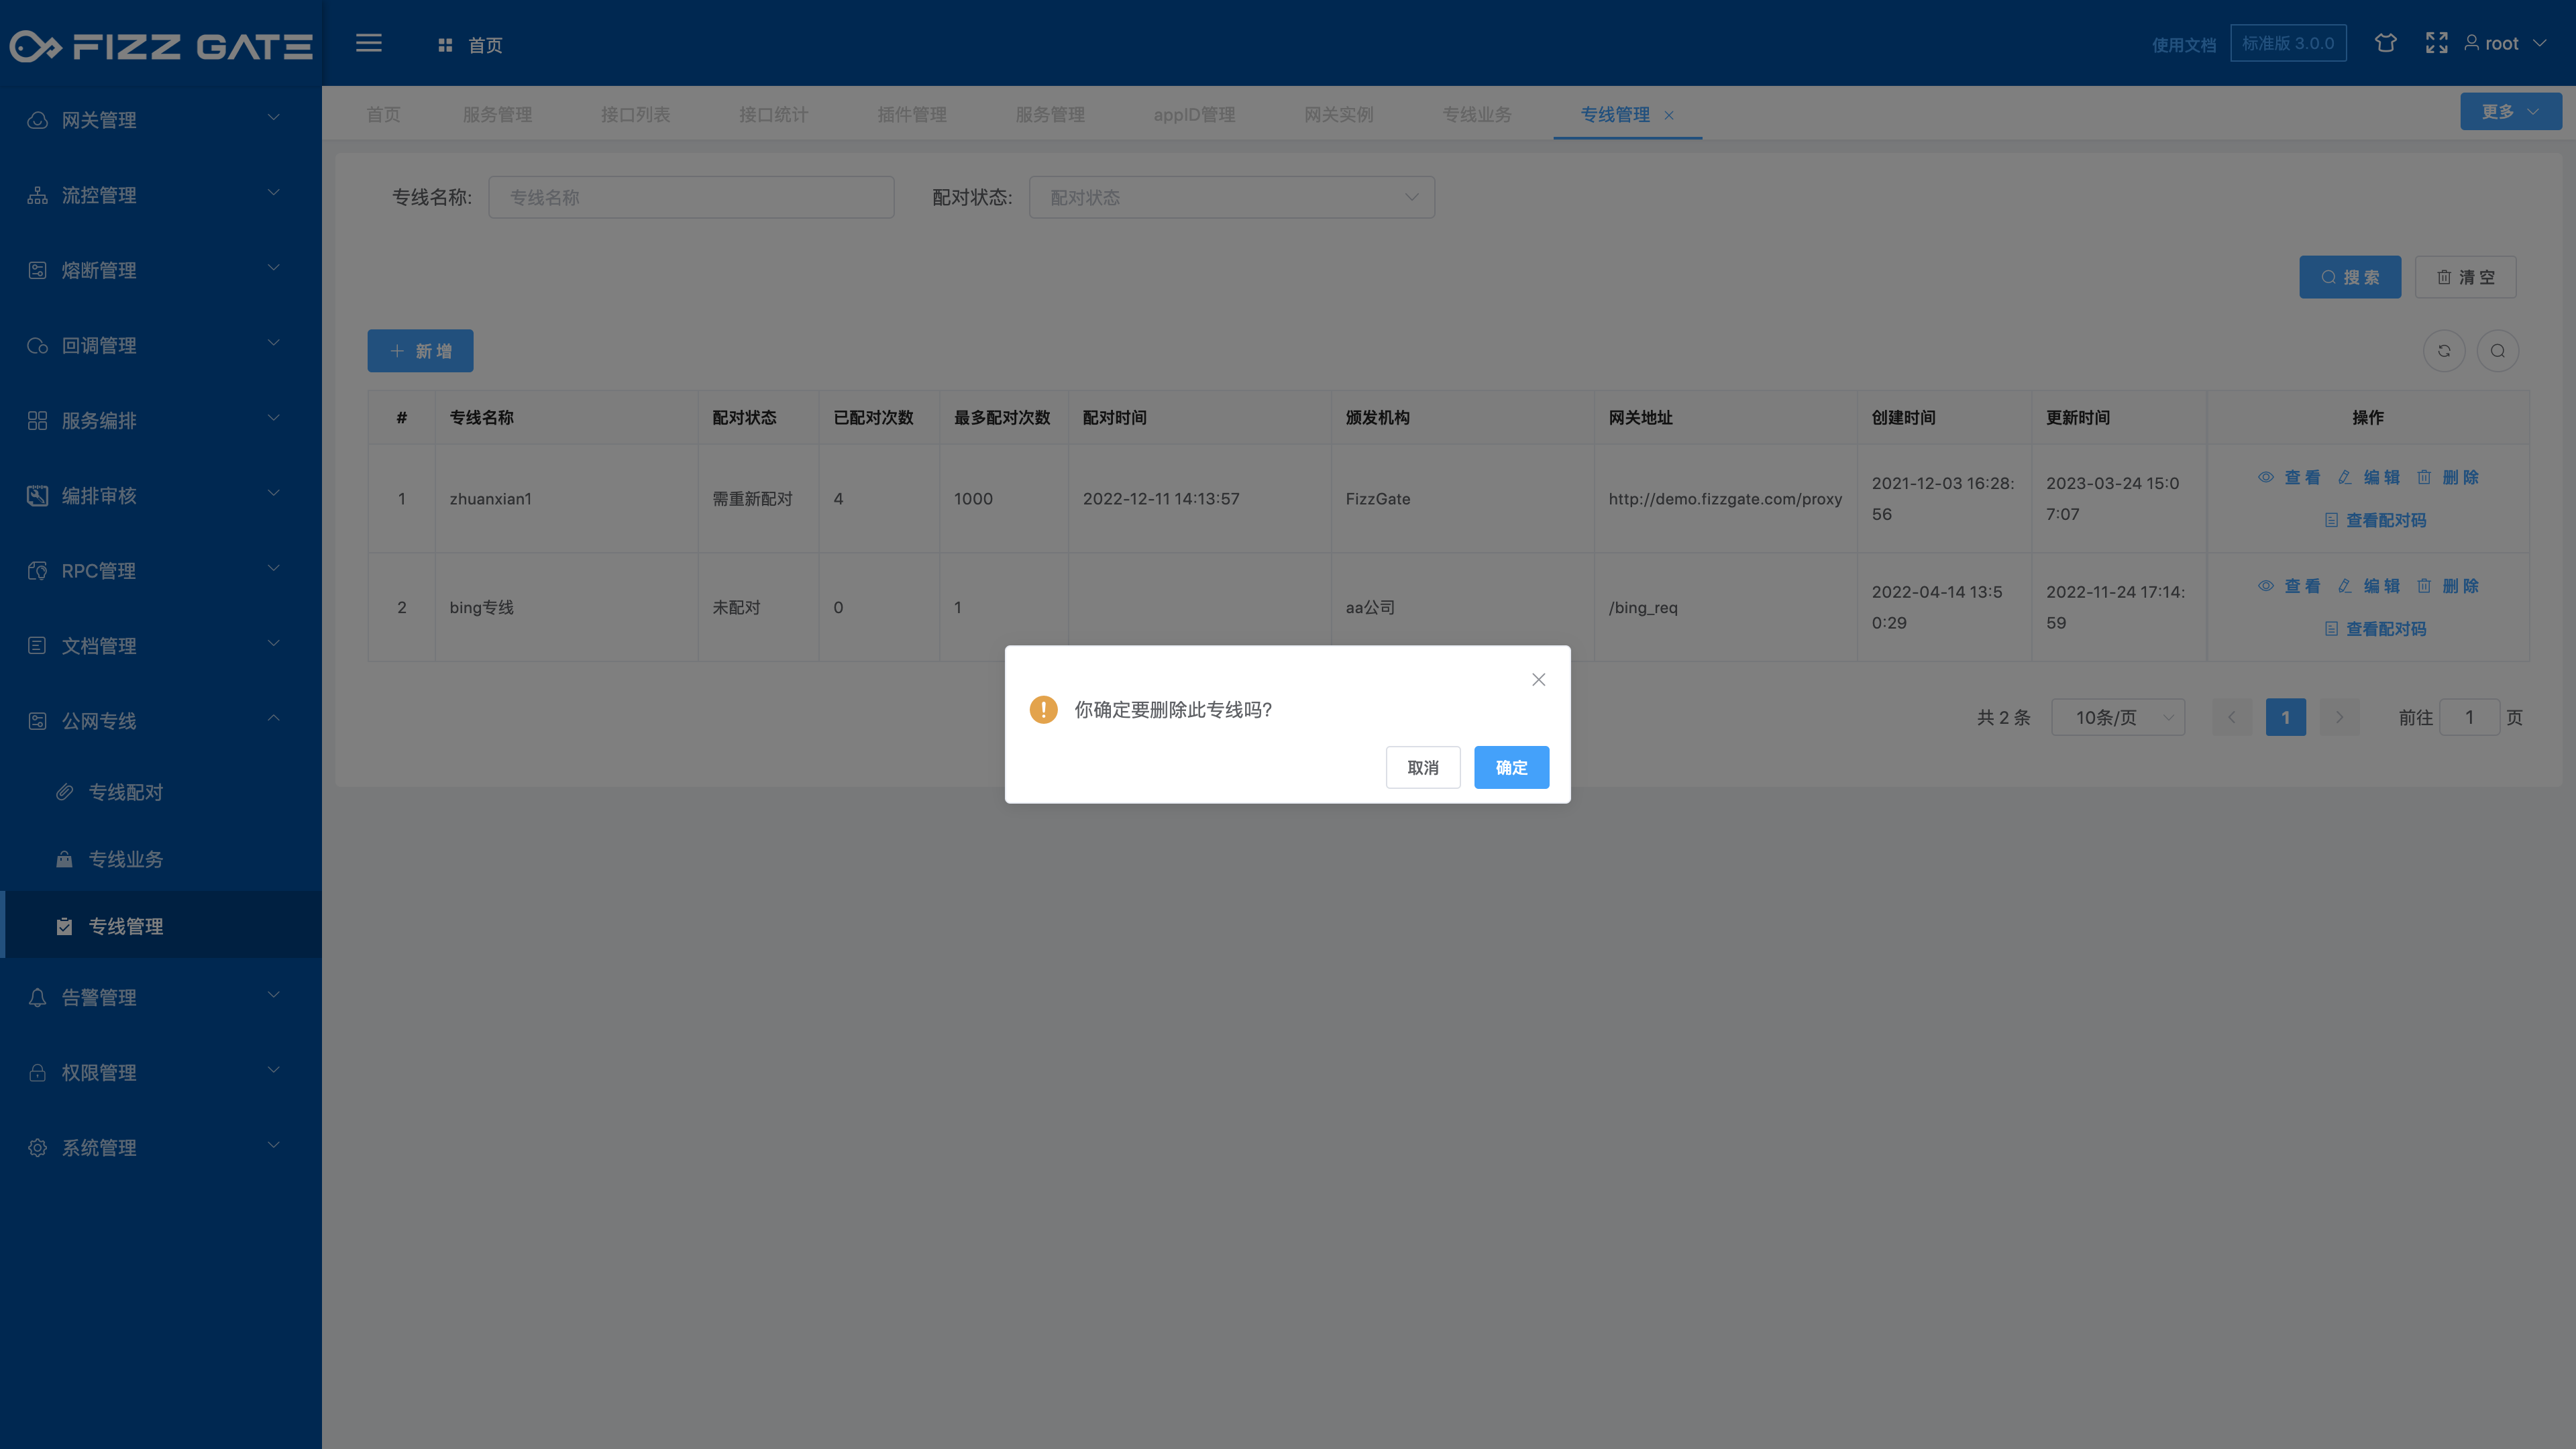
Click the OK button to delete the dedicated line.
# Pairing code
Click the View Pairing Code button to pop up the pairing code viewing window, as shown in the figure.
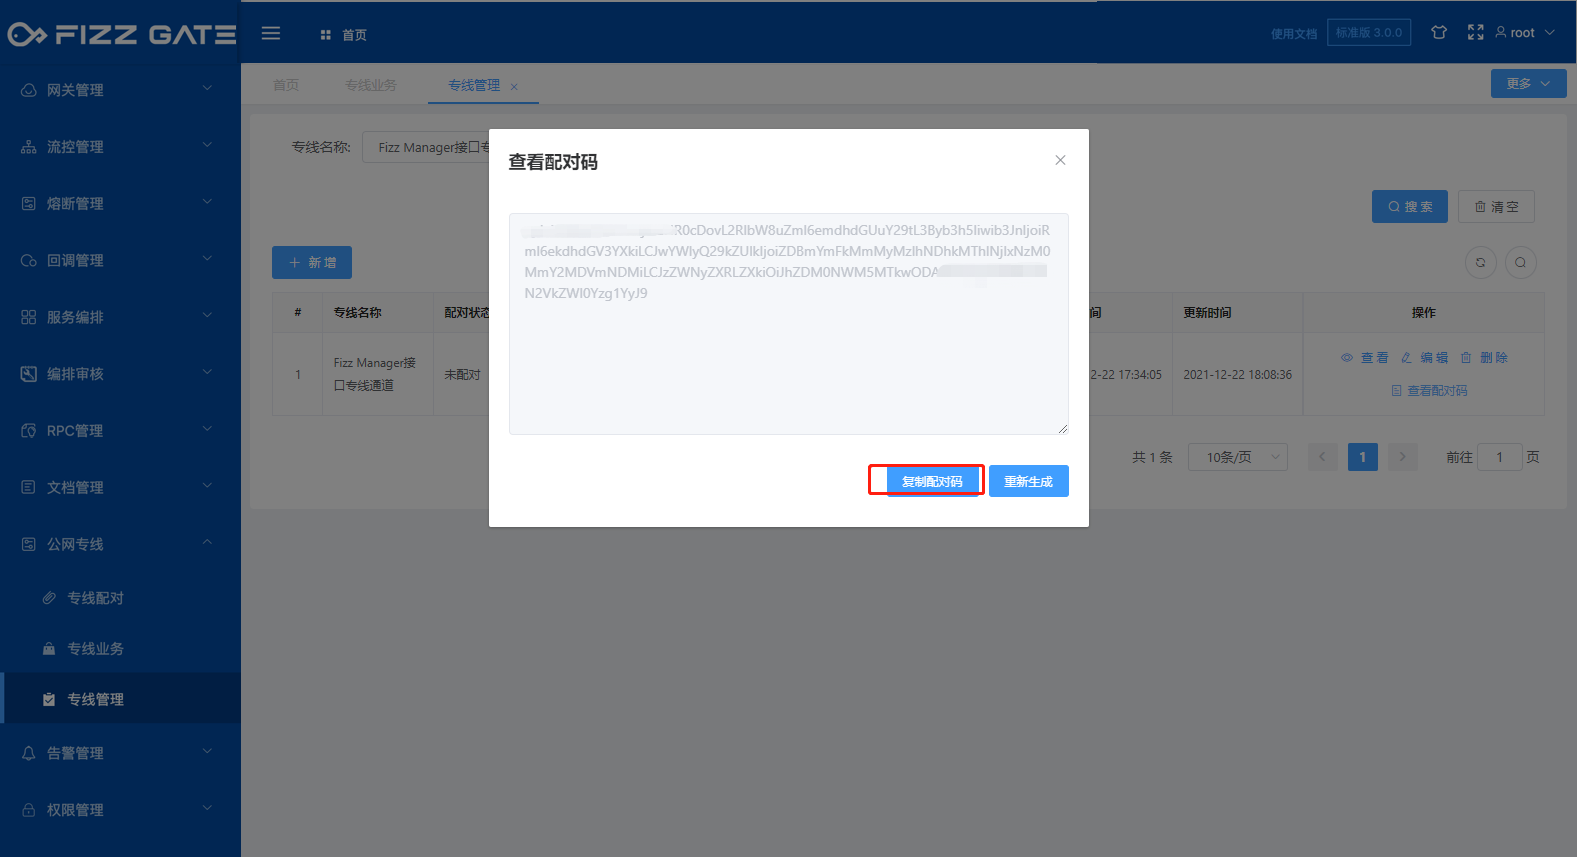
The pairing code is provided to the client gateway for pairing (for more pairing details, please see the dedicated line pairing function introduction).
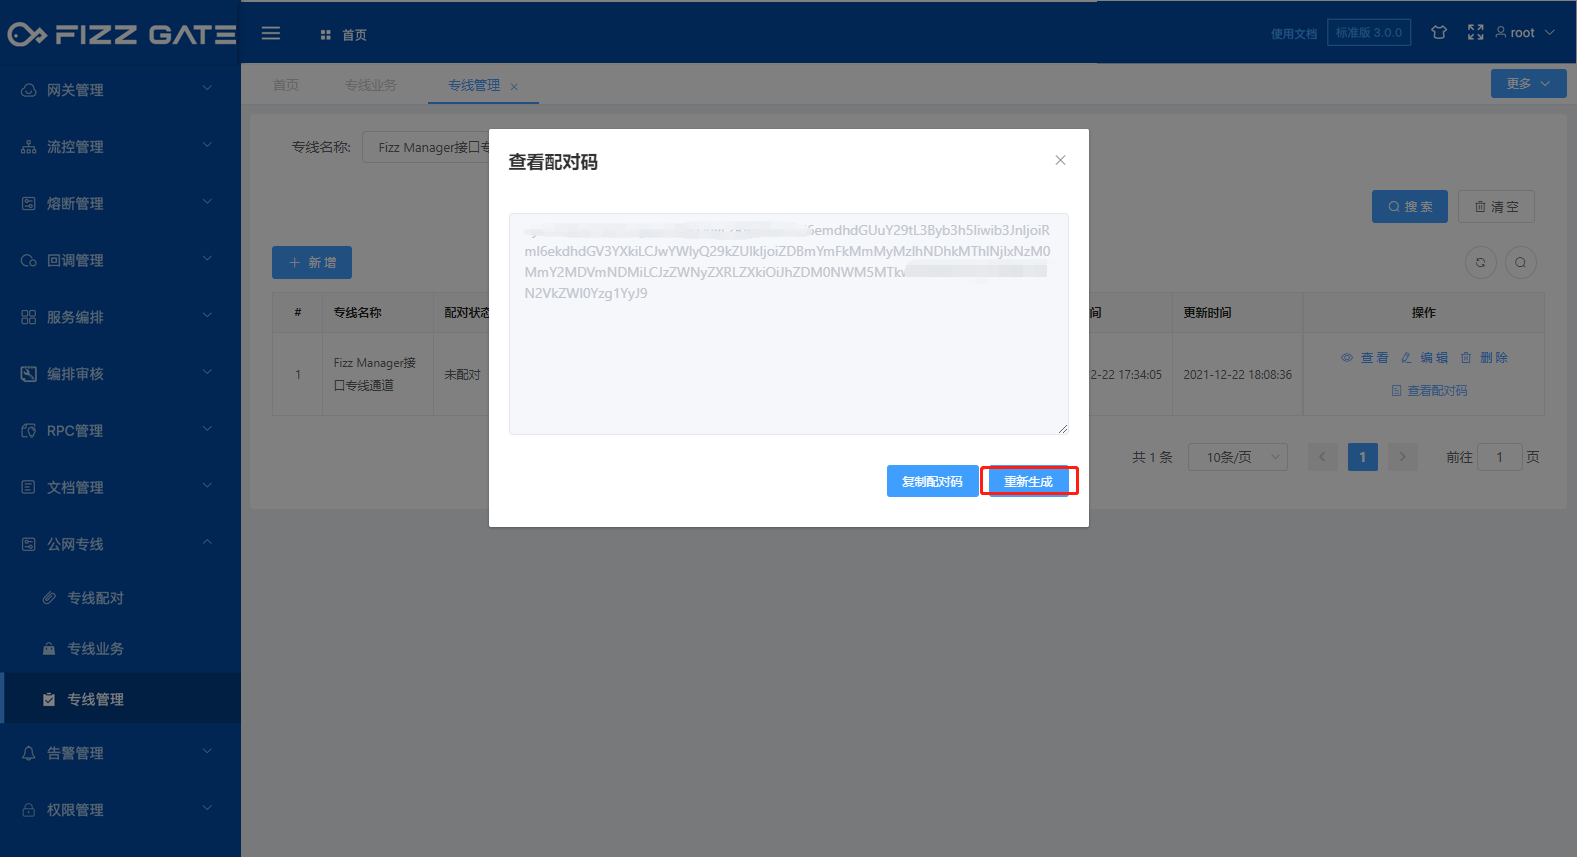
Click the Regenerate button in the pairing code viewing window to regenerate the pairing code, as shown in the figure.
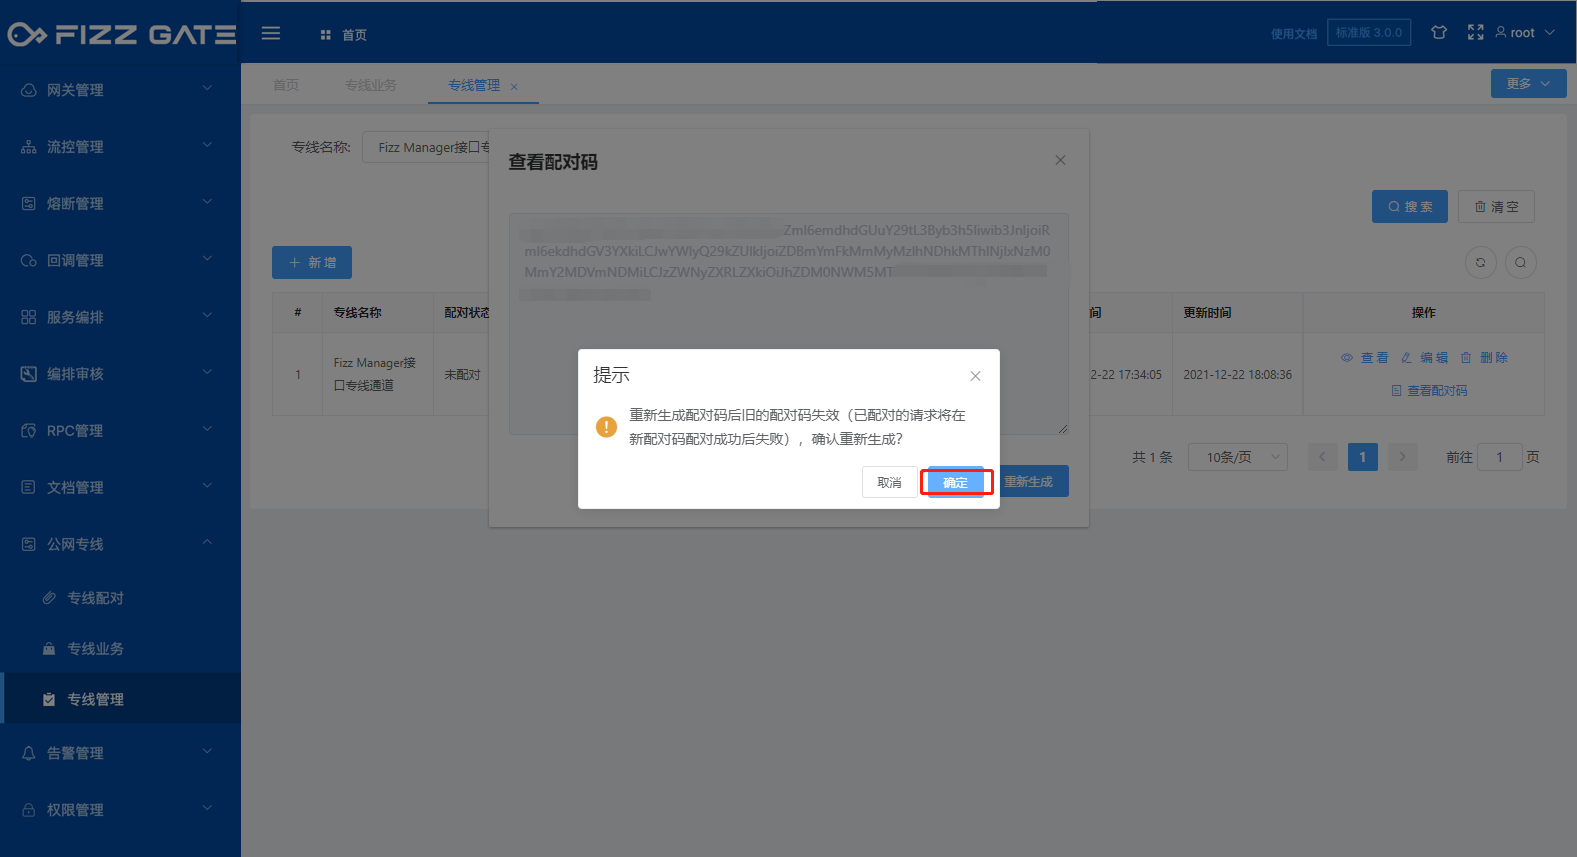
After regenerating the pairing code, the old pairing code becomes invalid (already paired requests will fail after the new pairing code is successfully paired).